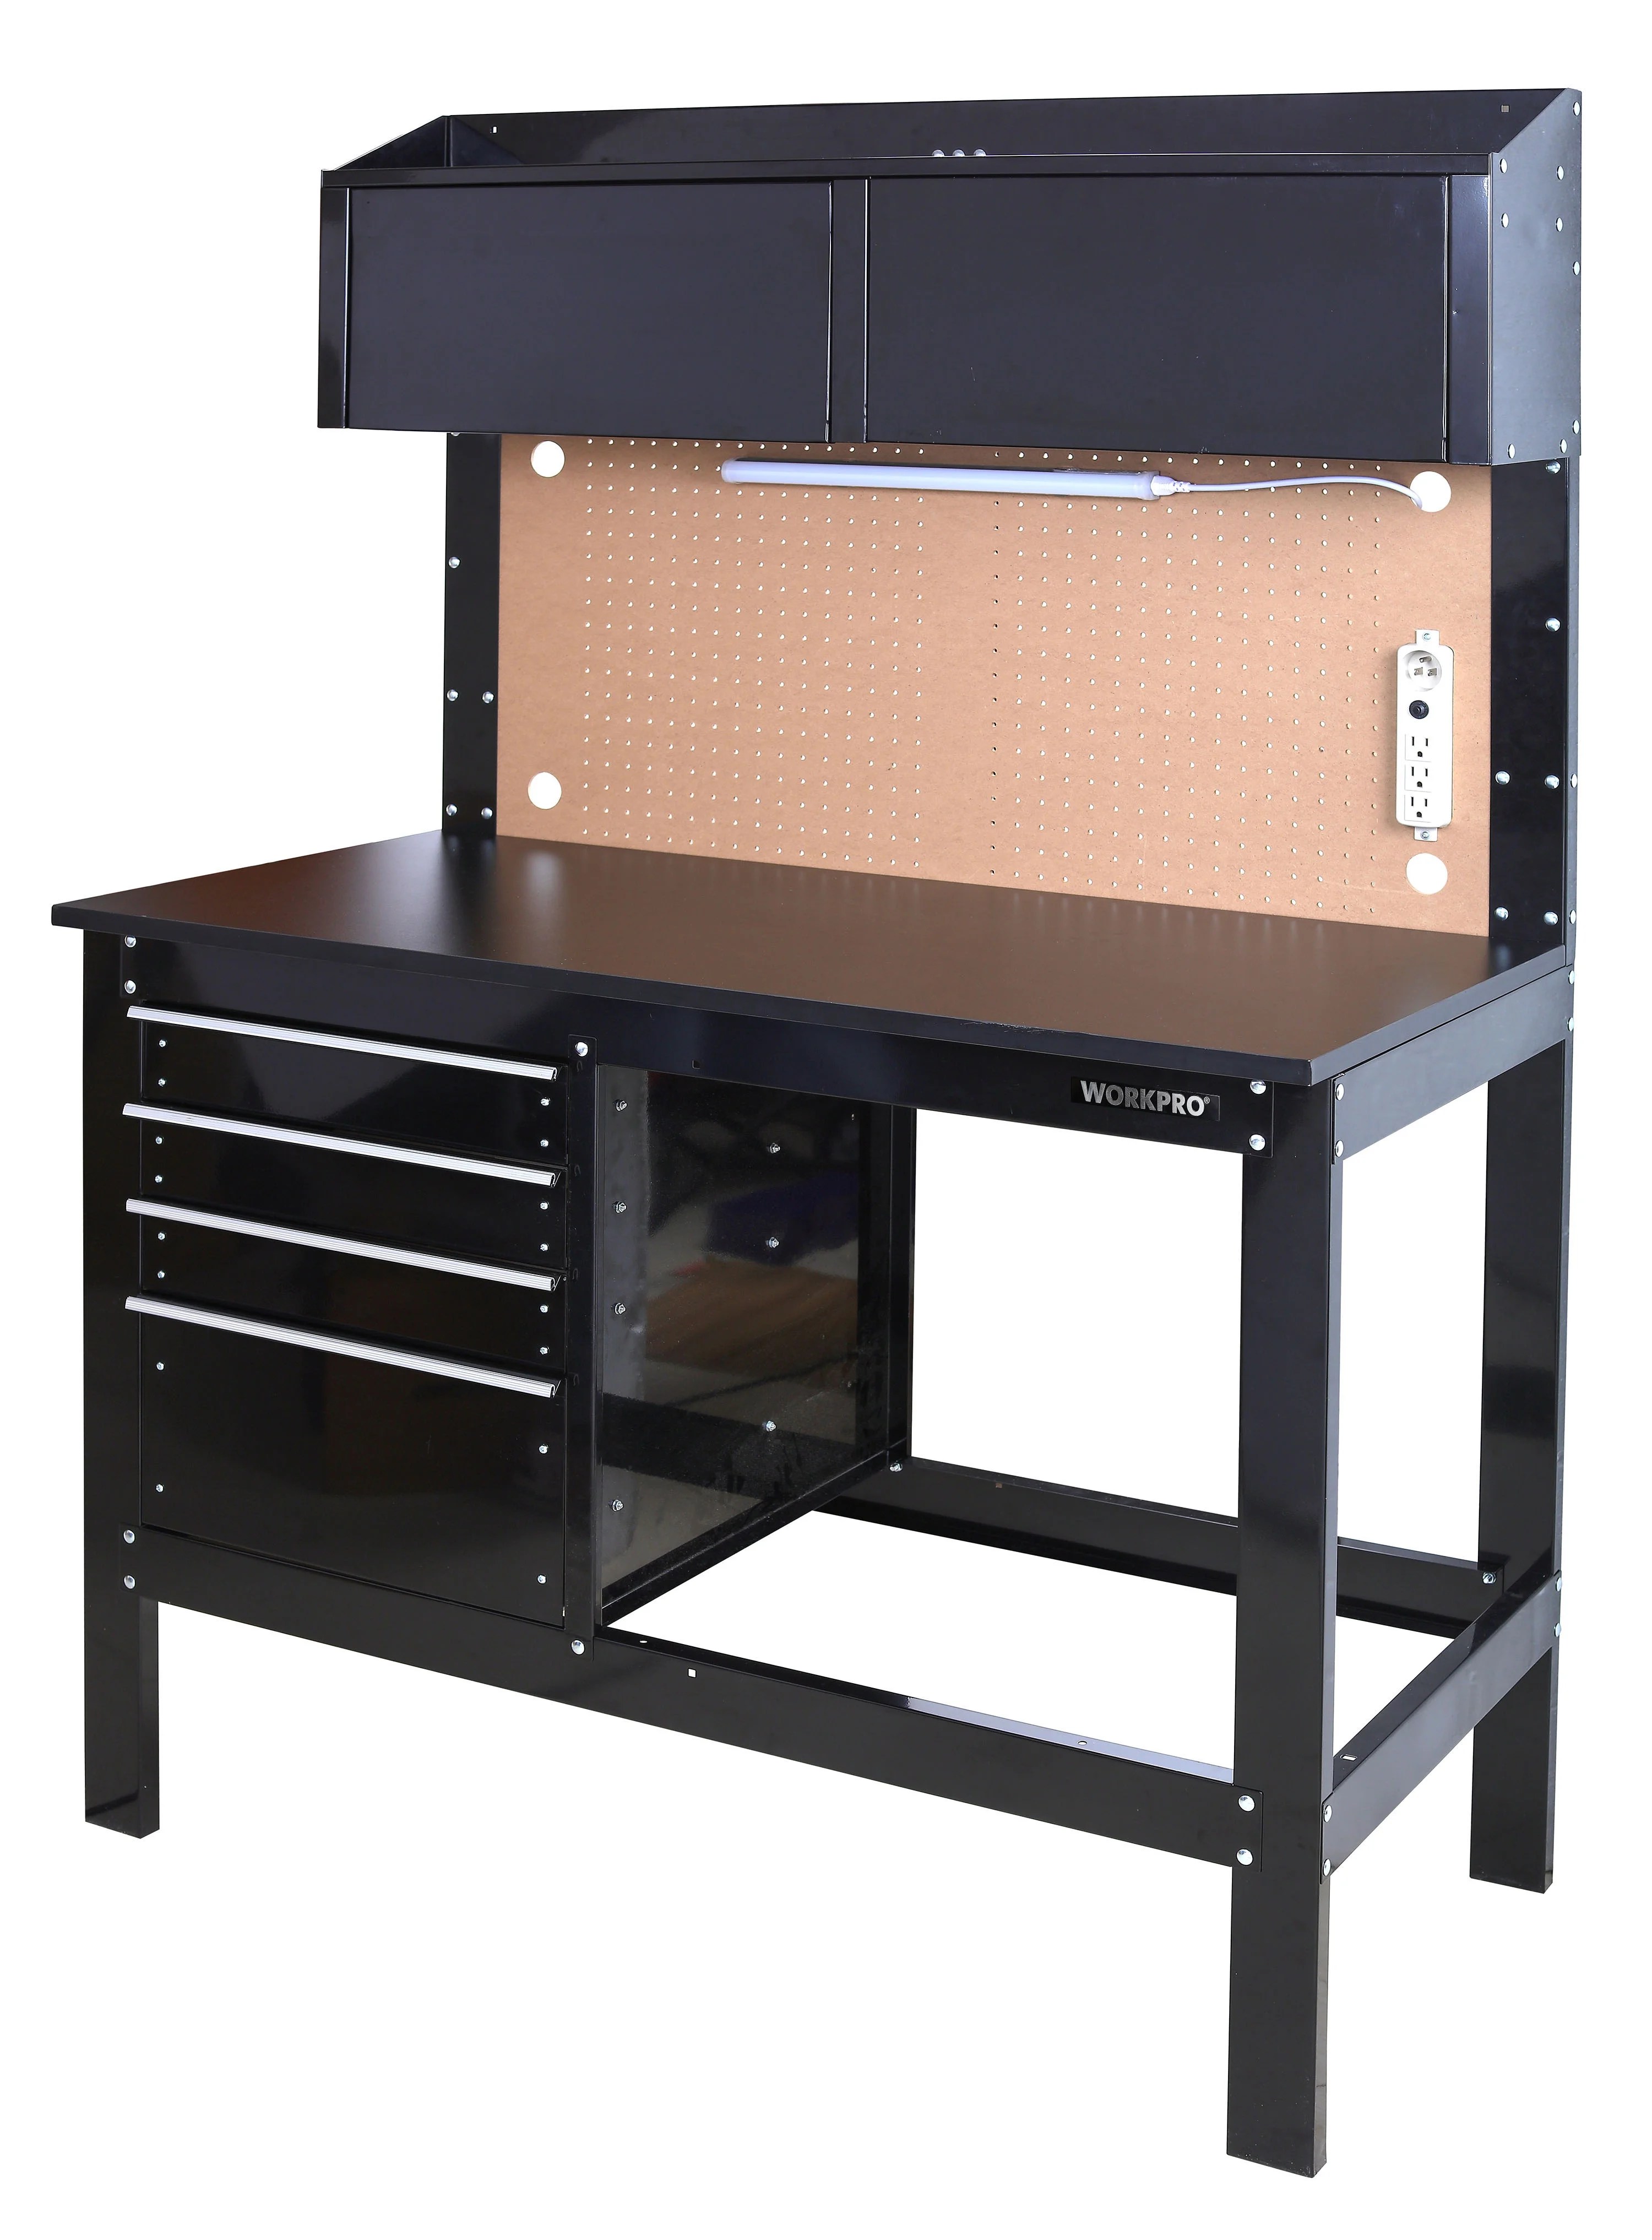
 javdna06.blogspot.com Here's a step-by-step guide on how to build a workbench with drawers:
 Opening This project outlines the construction of a sturdy and functional workbench with integrated drawers for storage. This workbench is designed for general purpose use in a garage, workshop, or hobby room. Prior woodworking experience is recommended. Be sure to always use the appropriate safety equipment.
Materials and Tools Before starting, gather all the necessary materials and tools:
- Lumber: 4x4 posts, 2x4 framing lumber, plywood (for the workbench top and drawer boxes), drawer slides
- Fasteners: Wood screws, nails (optional), glue
- Hardware: Drawer pulls, hinges (optional, for a cabinet)
- Finishing supplies: Sandpaper, stain or paint, varnish or sealant
- Measuring Tools: Tape measure, square, level
- Cutting Tools: Circular saw, miter saw (optional but helpful), jigsaw
- Drilling Tools: Drill/driver, drill bits
- Assembly Tools: Clamps, hammer (optional)
- Safety Gear: Safety glasses, ear protection, dust mask
Step 1: Building the Frame First, build the base frame of the workbench. Cut the 4x4 posts to the desired height of your workbench legs. Common workbench heights range from 34 to 38 inches. Cut the 2x4 lumber to create the top and bottom frame rails. The length of the frame rails will determine the overall width and depth of your workbench. Assemble the frame by attaching the 2x4 rails to the 4x4 posts using wood screws and glue. Ensure the frame is square by measuring the diagonals and making adjustments as needed. Use clamps to hold the frame together while the glue dries.
Step 2: Adding Support Rails Add additional 2x4 rails to the frame to provide support for the workbench top and the drawer boxes. These rails should run horizontally between the legs and be evenly spaced. Attach these rails to the posts using screws and glue. These supports are crucial for preventing sagging and ensuring the workbench can handle heavy loads.
Step 3: Creating the Workbench Top Cut a piece of plywood to the desired size for your workbench top. This will be determined by the overall dimensions of your frame. Consider using multiple layers of plywood for added thickness and strength. Attach the plywood top to the frame using screws and glue. Be sure to countersink the screws to create a smooth surface. Sand the edges of the top to remove any sharp corners.
Step 4: Building the Drawer Boxes Cut the plywood to the dimensions required for the drawer boxes. The dimensions will depend on the available space within the workbench frame. Assemble the drawer boxes using screws and glue. Ensure the drawer boxes are square and sturdy.
Step 5: Installing Drawer Slides Attach the drawer slides to the inside of the workbench frame and to the sides of the drawer boxes. Follow the manufacturer's instructions for proper installation. Drawer slides come in various types, such as ball-bearing slides and friction slides. Ball-bearing slides are generally smoother and can handle heavier loads.
Step 6: Installing the Drawers Slide the drawer boxes into the drawer slides. Ensure the drawers slide smoothly and close properly. Adjust the position of the drawer slides if necessary. Attach drawer pulls to the front of the drawer boxes.
Step 7: Finishing Sand the entire workbench to smooth out any rough edges or surfaces. Apply a stain or paint to the workbench to protect the wood and enhance its appearance. Apply a varnish or sealant to the workbench top to protect it from spills and scratches. Allow the finish to dry completely before using the workbench.
Step 8: Adding Final Touches (Optional) You can add additional features to your workbench, such as a vise, a tool holder, or a power strip. Consider adding a back panel to the workbench to prevent items from falling behind it. You can also add a shelf below the workbench top for additional storage.
Conclusion Congratulations! You have now built a functional workbench with drawers. This workbench will provide you with a sturdy and organized workspace for your projects. Remember to maintain your workbench by cleaning it regularly and tightening any loose screws or hardware. Enjoy your new workbench.
Husky 4 Ft. Solid Wood Top Workbench With Storage-g4801s-us
 www.homedepot.com
 Workpro 2-in-1 48in Workbench And Cabinet Combo With Work Light
 www.walmart.com
 Home Depot Workbenches With Drawers
 javdna06.blogspot.com